Mechanics & Controls
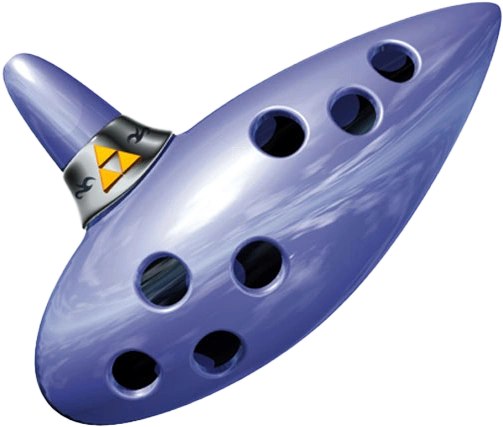
The four systems that define Ocarina of Time: Z-targeting (hold Z/L to lock onto an enemy and circle-strafe), time travel (the Master Sword and Temple of Time swap you between child and adult Link), the magic meter (powers the three fairy spells, Din's/Farore's/Nayru's), and the ocarina (play songs to warp, change time of day, and trigger events). Controls differ per platform — the per-platform table is at the bottom.
Jump to: Time Travel · Magic · Controls
Z / L-Targeting
Z-targeting is the heart of OoT combat — lock on and you stay facing the enemy while you strafe, jump-attack and shield. It's named Z on N64 and L on later platforms.
| Lock on | Hold Z (N64) / L (3DS, Switch) near an enemy | Camera and Link face the target; movement becomes a strafe |
| Talk / read | Z-target an NPC or sign | Same button starts conversations and reads context |
| Jump attack | Targeted + press A | Bigger damage leap toward the locked target |
| Back-slice / side-hop | Targeted + sidestep then A | Counters guarded foes like Stalfos and Dark Link |
| Shield block | Targeted + hold R | Auto-faces the threat while you raise the shield |
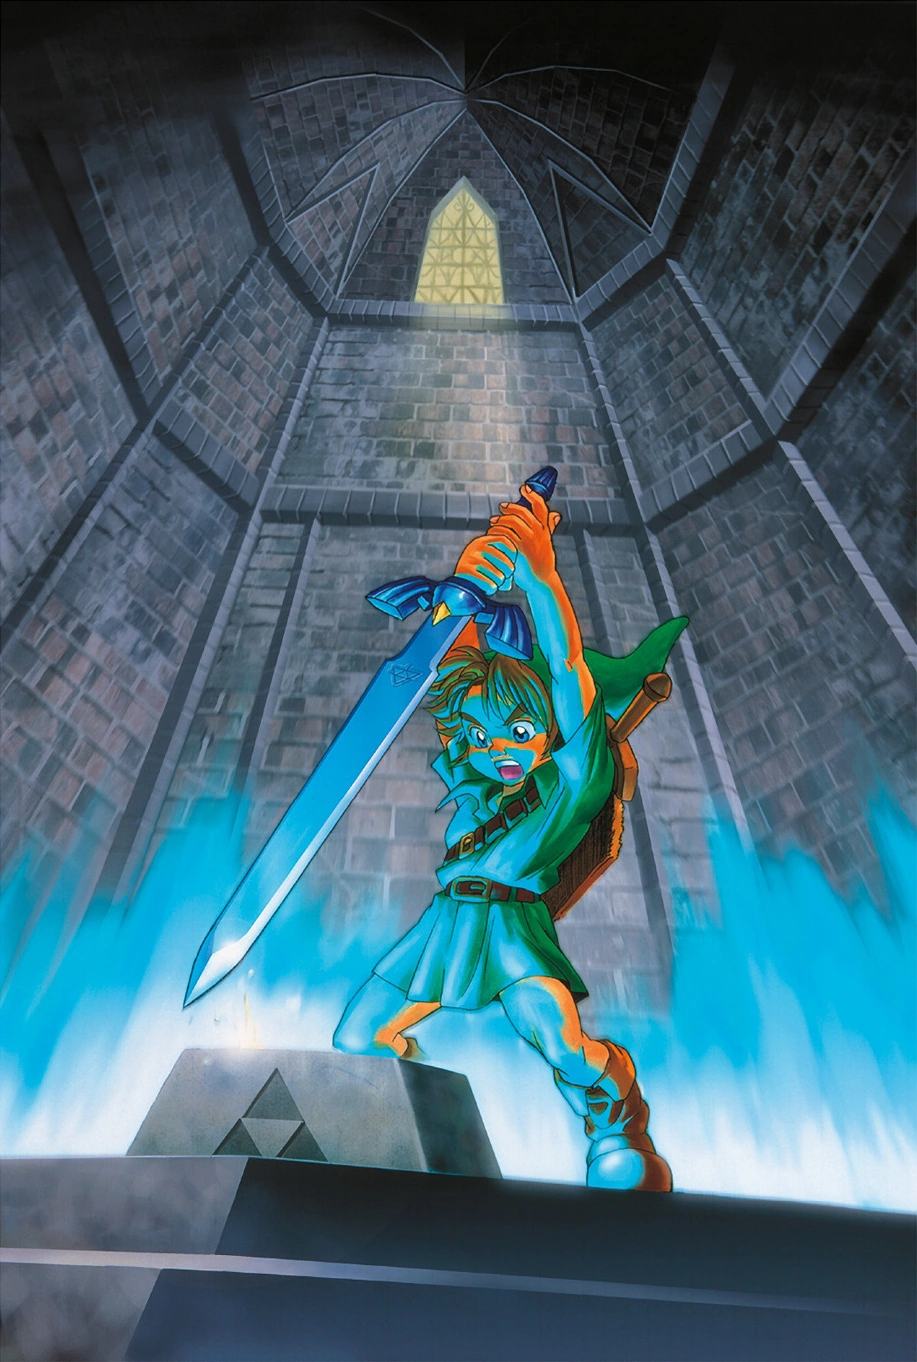
Time Travel (Child ↔ Adult)
The game is split across two eras of the same Link. The Master Sword is the switch, and the Pedestal of Time in the Temple of Time lets you flip back and forth once you've drawn it.
💡 Plan across eras
Anything you plant or set up as a child — Magic Beans especially — grows for adult Link to use. If a heart piece or ledge looks unreachable, the fix is often "come back in the other era."
Magic Meter & Spells
The green magic meter appears once the Great Fairy grants your first spell. It powers the three fairy spells plus items like Din's Fire-lit torches, the Lens of Truth and magic arrows.
| Din's Fire | Ring of fire around Link — damages enemies and lights torches | Near Hyrule Castle |
| Farore's Wind | Sets a warp point inside a dungeon and teleports you back to it | Zora's Fountain (behind Lord Jabu-Jabu) |
| Nayru's Love | Protective crystal barrier — prevents all damage for a time | Desert Colossus (near the Spirit Temple) |
Masks & Trading Items
Masks are a child-era side activity run through the Happy Mask Shop — borrow a mask, sell it to the right NPC, repay the shop, and unlock the next. The Mask of Truth at the end reads Gossip Stones.
| Keaton Mask | Guard at the Hyrule Castle gate |
| Skull Mask | Skull Kid in the Lost Woods |
| Spooky Mask | Boy in the Kakariko Graveyard |
| Bunny Hood | The Running Man |
| Mask of Truth | Keep it — reads Gossip Stones and reveals hidden hints |
Other Core Systems
The supporting systems you'll touch constantly — equipment swapping, bottles, the ocarina, and Epona.
Controls per platform
The same actions are mapped to different buttons across releases. The 3DS port is the big quality-of-life jump — items and equipment move to the touch screen, killing the menu-swap problem.
| N64 | 3DS | GameCube* | Switch (NSO) | |
|---|---|---|---|---|
| Targeting | Z | L | L | ZL / L |
| Sword | B | B | B | B / Y |
| Action / jump | A | A | A | A |
| Item buttons | C-Up/Left/Right | Touch-screen + Y/X | C-stick / X / Y | C-buttons mapped to face/stick |
| Ocarina | A + C-buttons | Touch + buttons | A + C-stick | A + mapped C-buttons |
| Iron Boots swap | Pause → equip menu | Touch-screen quick item | Pause → equip menu | Pause → equip menu |
| Map / minimap | On-screen | Bottom touch screen | On-screen | On-screen |
* GameCube via the Collector's Edition / Master Quest disc, mapping N64 layout onto the GameCube pad.
⚠️ The Iron Boots menu-swap pain point
On N64 you had to pause and dig into the equip menu every time you put the Iron Boots on or off — brutal in the Water Temple. The 3DS remake fixes this by putting the boots (and other items) on the touch screen for one-tap swapping. If the menu-juggling is what bounces you, that's the version to play. See Versions for the full comparison.